
What was your first set of knitting needles? This is probably a question whose answer will reveal your age, as there has been a distinct progression in the materials and shapes of knitting needles over the last century, a span which is likely to include even needles inherited from long-departed relatives. One hundred years ago, long steel knitting "pins" (usually what we would call double-pointed) were the most common tools, almost always in tiny gauges. Fifty years ago, aluminum straight needles with a cap on one end, incised with the number size of the needle, were the standard - smooth but not slick, it could be a real struggle to slide stitches along these needles. Circular needles made of nylon extruded in a single length of fatter tip and slimmer cable had also made it to market, but their stubbornly coiled cables had a few kinks to work out, pardon the pun.
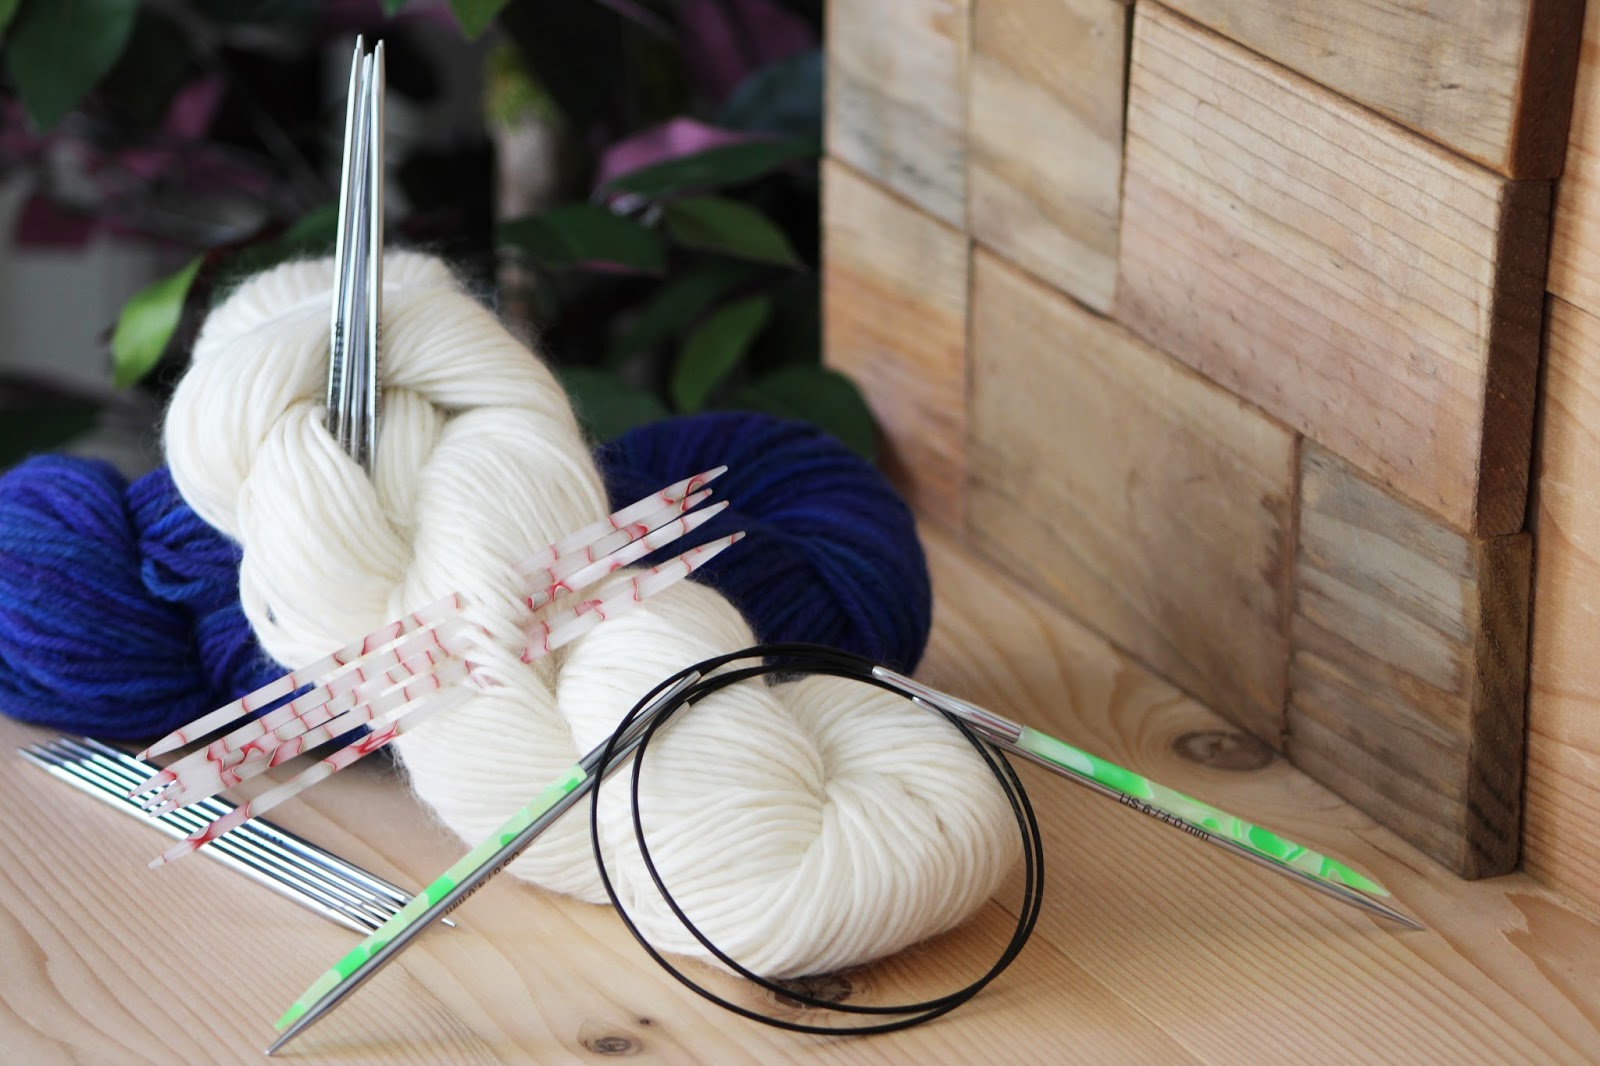 |
| A selection of Knitter's Pride needles. |
Over the last twenty years, there has been an explosion of materials, shapes and styles of knitting needles - here at Knitter's Pride, we use diverse materials ranging from rosewood and bamboo to chrome plated brass, acrylic, and carbon fiber, all of which are available in single point, double point, fixed circular and interchangeable needle options. With all of this diversity, however, the stereotype of two sticks and a ball of yarn is still the universal short-hand for knitting needles, even though many knitters knitters leave straight needles behind for the comfort and convenience of an interchangeable set of tips and cables once they have mastered the basics.
| Shadow Chevron Stitch on single pointed needles - click for free washcloth pattern at VeryPink.com. |
Single pointed needles are perfect for certain projects, like scarves or dishcloths - but they have limitations. If you are knitting a garment for anyone beyond toddler size, it will be difficult to comfortably fit your WIP onto a straight needle. Even it you are using a longer 14" length, the width of your garment will most likely be larger than that, even if it is going to be knit in pieces and seamed together. Your wrists are going to bear the weight of the garment’s fabric as it grows and you try to keep those stitches on your needles - ouch! Smaller items like hats, mittens and socks can be knit flat and then seamed to create a three-dimensional piece, but most knitters prefer to work in-the-round. Double-pointed needles (DPNs) are a good solution for seamless knitting, but they are a bit fiddly, particularly at the beginning of a project, and they are very easy to lose down chair cushions or in the airplane aisle.
So go circular! Our interchangeable needle sets provide knitters with a wide range of versatility so that the knitting experience can be customized to each project’s size, yarn, construction technique and stitch pattern. You can knit anything, flat or round, from the tiniest baby bootie to a lace Pi shawl, on a circular needle with the right cord length. When you knit a project on a circular needle, the cord bears the weight of the project while your wrists are free to create the stitches. When you’re done knitting for the day, you can slide the project onto the cord and avoid the row of stretched stitches that a work-in-progress develops on straight needles. Once your project is resting on the cord with the tips dangling, your project is portable; you are less likely to lose either your stitches or a needle.
 |
| The ever-popular mitered square scrap yarn blanket using Karbonz interchangeable needles. |
How do you knit flat on a circular needle? Imagine your circular needle is a flexible straight needle with a cap on one end. First, cast on your stitches as you normally would. Next, instead of picking up a second needle, bring the other tip around to the right end and begin knitting. When you reach the end of the row, drop your working tip and turn the entire work around so that your working yarn is at the right end, ready to go. Bring the other tip around and knit on!
Now for the mysteries of knitting in the round. First, let’s think about why this is a great way to construct knitted garments: put simply, the human body is not flat. Creating tubes with our knitting is the best way to accommodate arms, legs, heads, necks and torsos. Many knitting patterns employ this technique - take, for example, the classic Icelandic lopapeysa. The body is a tube; each sleeve is also a tube, and at the top they joined them together (sleeve, torso, sleeve) to knit a patterned yoke up to the neck and then bound off. The only seaming required is at each underarm!
 |
| In-the-round projects on Knitter's Pride needles. |
Learning to knit in the round opens up all kinds of possibilities for your knitting. Once you understand what’s happening in your knitting, it’s very easy. Begin by assembling the right combination of tips and cord from your interchangeable needles. For example, a hat or cowl is generally going to be best on a 16 inch cord; you really need the shorter tips of a Knitter’s Pride Special interchangeable set to comfortably form a 16 inch circle (shown below is our Karbonz Special Interchangeable Set). An adult sweater will be best on a 24-inch or 32-inch cord, depending on yourstitch count. To begin, cast on the number of stitches your pattern specifies.

Staci Perry demonstrates 3 sure-fire ways to join for knitting in the round in her most recent tutorial video:
And now the real magic of knitting in the round is revealed: If you’re knitting plain stockinette, you won’t purl again unless the pattern instructs you to purl for ribbing or some other textural effect. Knitting in the round creates a fabric where the “right” (or knit side, if you are working stockinette stitch) is on the outside, and the “wrong” (or purl side) is on the inside of the tube. Since you’re working on the outside, all you have to do is knit! It’s quick, it’s easy and it doesn’t require every brain cell you have, so it’s great for social or movie knitting.
Once you’re comfortable with knitting on circular needles, you can add to your repertoire of knitting techniques with Magic Loop and other specialty applications. In a future post, we will look at advanced uses of circular knitting needles!
No comments:
Post a Comment